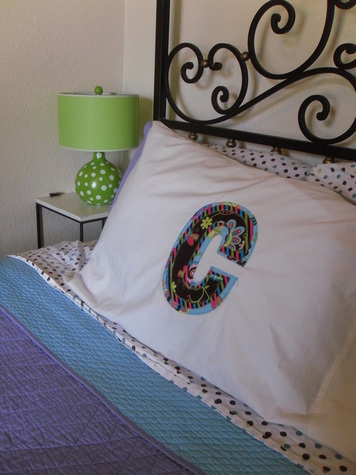
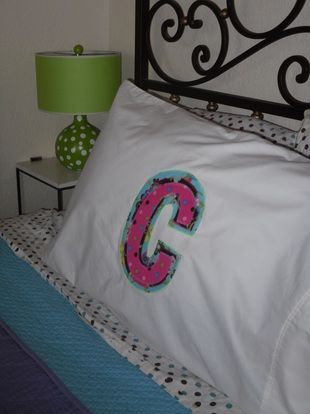
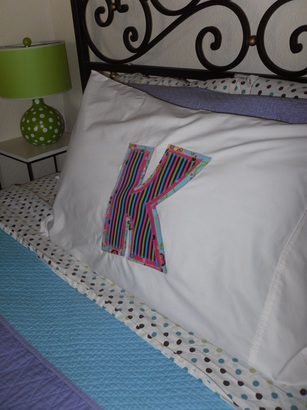
Flower Girl Initial Pillowcases

Supplies
-Sewing Machine
-Iron
-Fabric 1/4 yard of each style.
-Multi-Purpose Thread(s)
-1 Yard Pellon Decor Bond (single sided adhesive)
-1 Yard Wonder Under (double sided adhesive)
-Pillowcase(s)
-Iron
-Fabric 1/4 yard of each style.
-Multi-Purpose Thread(s)
-1 Yard Pellon Decor Bond (single sided adhesive)
-1 Yard Wonder Under (double sided adhesive)
-Pillowcase(s)
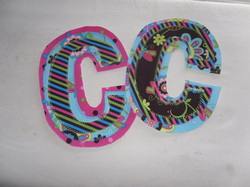
Step 1: Selecting Fabric

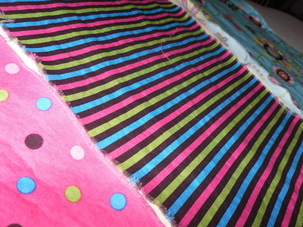
I had a hard time finding fabric that I felt the flowers girls would like. I wanted something that would all go together and relatively be the same, but different for each girl. I suggest when picking fabric to choose a quality fabric. The fabric I picked was 100% premium cottom fabric from JOANN's Craft Store and Hobby Lobby.
Step 2: Making Bobbins
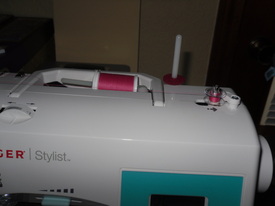
I wanted a funky look/style to the pillowcases. I purchased threads in bright colors to contrast with the fabric colors so you could see the threading on the pillows.
Step 3: Pre-Wash Fabric and Pillowcases
I HIGHLY suggest pre-washing all fabric materials before officially starting the project. This reduces the fabric from shrinking. It helps with maintaining the crispness of the fabric and over look integrity of the fabric.
Step 4: Ironing the Fabric and Pillowcases
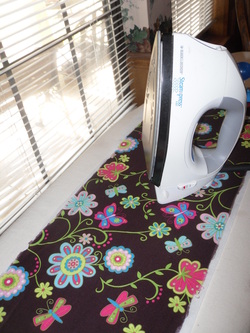
Ironing both the fabric and pillowcases help ensure that there are not any wrinkles or folds that might have came up on you to create large creases. It also allows for easier application of the letter to the pillows to prevent wrinkling.
Step 5: Iron on Decor Bond to Fabric.
When I first did this, the decor bonding was on bottom and my fabric on top. I realized that there was a part of the decor bond that had "doubled up" and created a lump in the fabric. When I went to correct it I noticed that the adhesive "bond" wasn't as good the second time I tried it. I started doing it the oppisite way and it worked better. However, I would check to make sure that you are ironing the fabric smoothly.
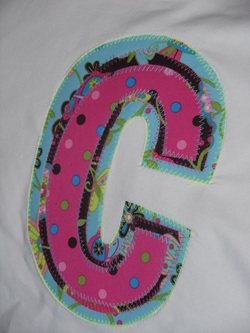
Step 6: Trace Outline of Letter on Fabrics
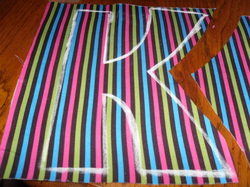
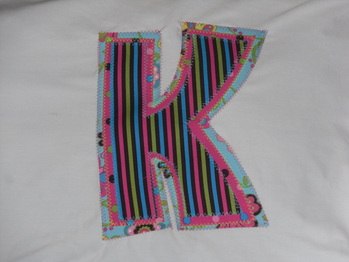
I just went through all the different fonts in word and found the ones that I felt would fit the girls personality. These were bold and funky. The font is called AC CHRISTY and the size is 700.
Step 7: Repeat Step 6 for all Fabrics
I had the hardest time trying to figure out how to exactly create a larger replica of the letters. Increasing the size disorted the letters and enlarging them on a copier didn't get me anywhere. I just free handed it once I started the first layer.
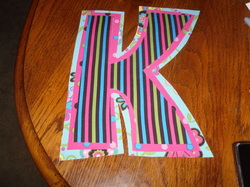
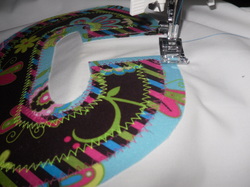
Step 8: Sew the Top & Middle Layer Together
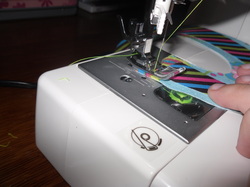
I did a classic zig zag stitch to achieve the look I was wanting.The first time I did this I started out the the letter "K". That was easy compared to the letter "C". The curves were complicated and a few times the fabric came together wrong. If doing curvy letters I suggest using the decor bond ( one sided adhesive) as well as the wonder under ( double sided adhesive). In doing this it keeps the fabric from moving.
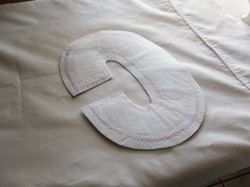
Step 9: Attach the Bottom layer to the other layers.
Even if your letters are not going to have curvy letters, I would suggest using wonder under (double sided adhesive). When I used it on the letters "C", I whipped them out alot faster than the letter "K".
Step 10: Iron on the Wonder Under (Double Sided Adhesive) to the Last Layer.
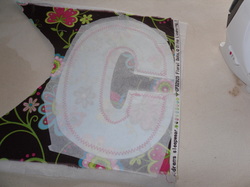
I used a spare scrap of fabric when doing this. The first time I tried I ironed it to my ironing board pad. I unknowningly had literally glued the letter to the ironing board ruining it. Also, when you are trying to iron on the Wonder Under do not use a steam setting on your iron. It will make hissing noises because there is not anywhere for the steam to go.
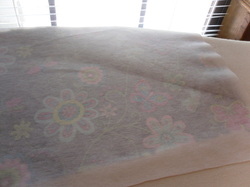
Step 11: Iron on the Letter to the pillowcase.
An easy way to locate the middle of the pillow is to fold it in half, fold it again, and then pinch the fabric. This creates a guide when pinning the letter to the pillow case. You can see a faint "+" sign on the pillow.
Step 12: Sewing the Final Layer on to the Pillowcase.
When I ironed on the letters I positioned them a little bit higher on the "+" sign. I noticed that visually the letters looked lower when I didn't.